Gallery
Gallery 2
Gallery 3
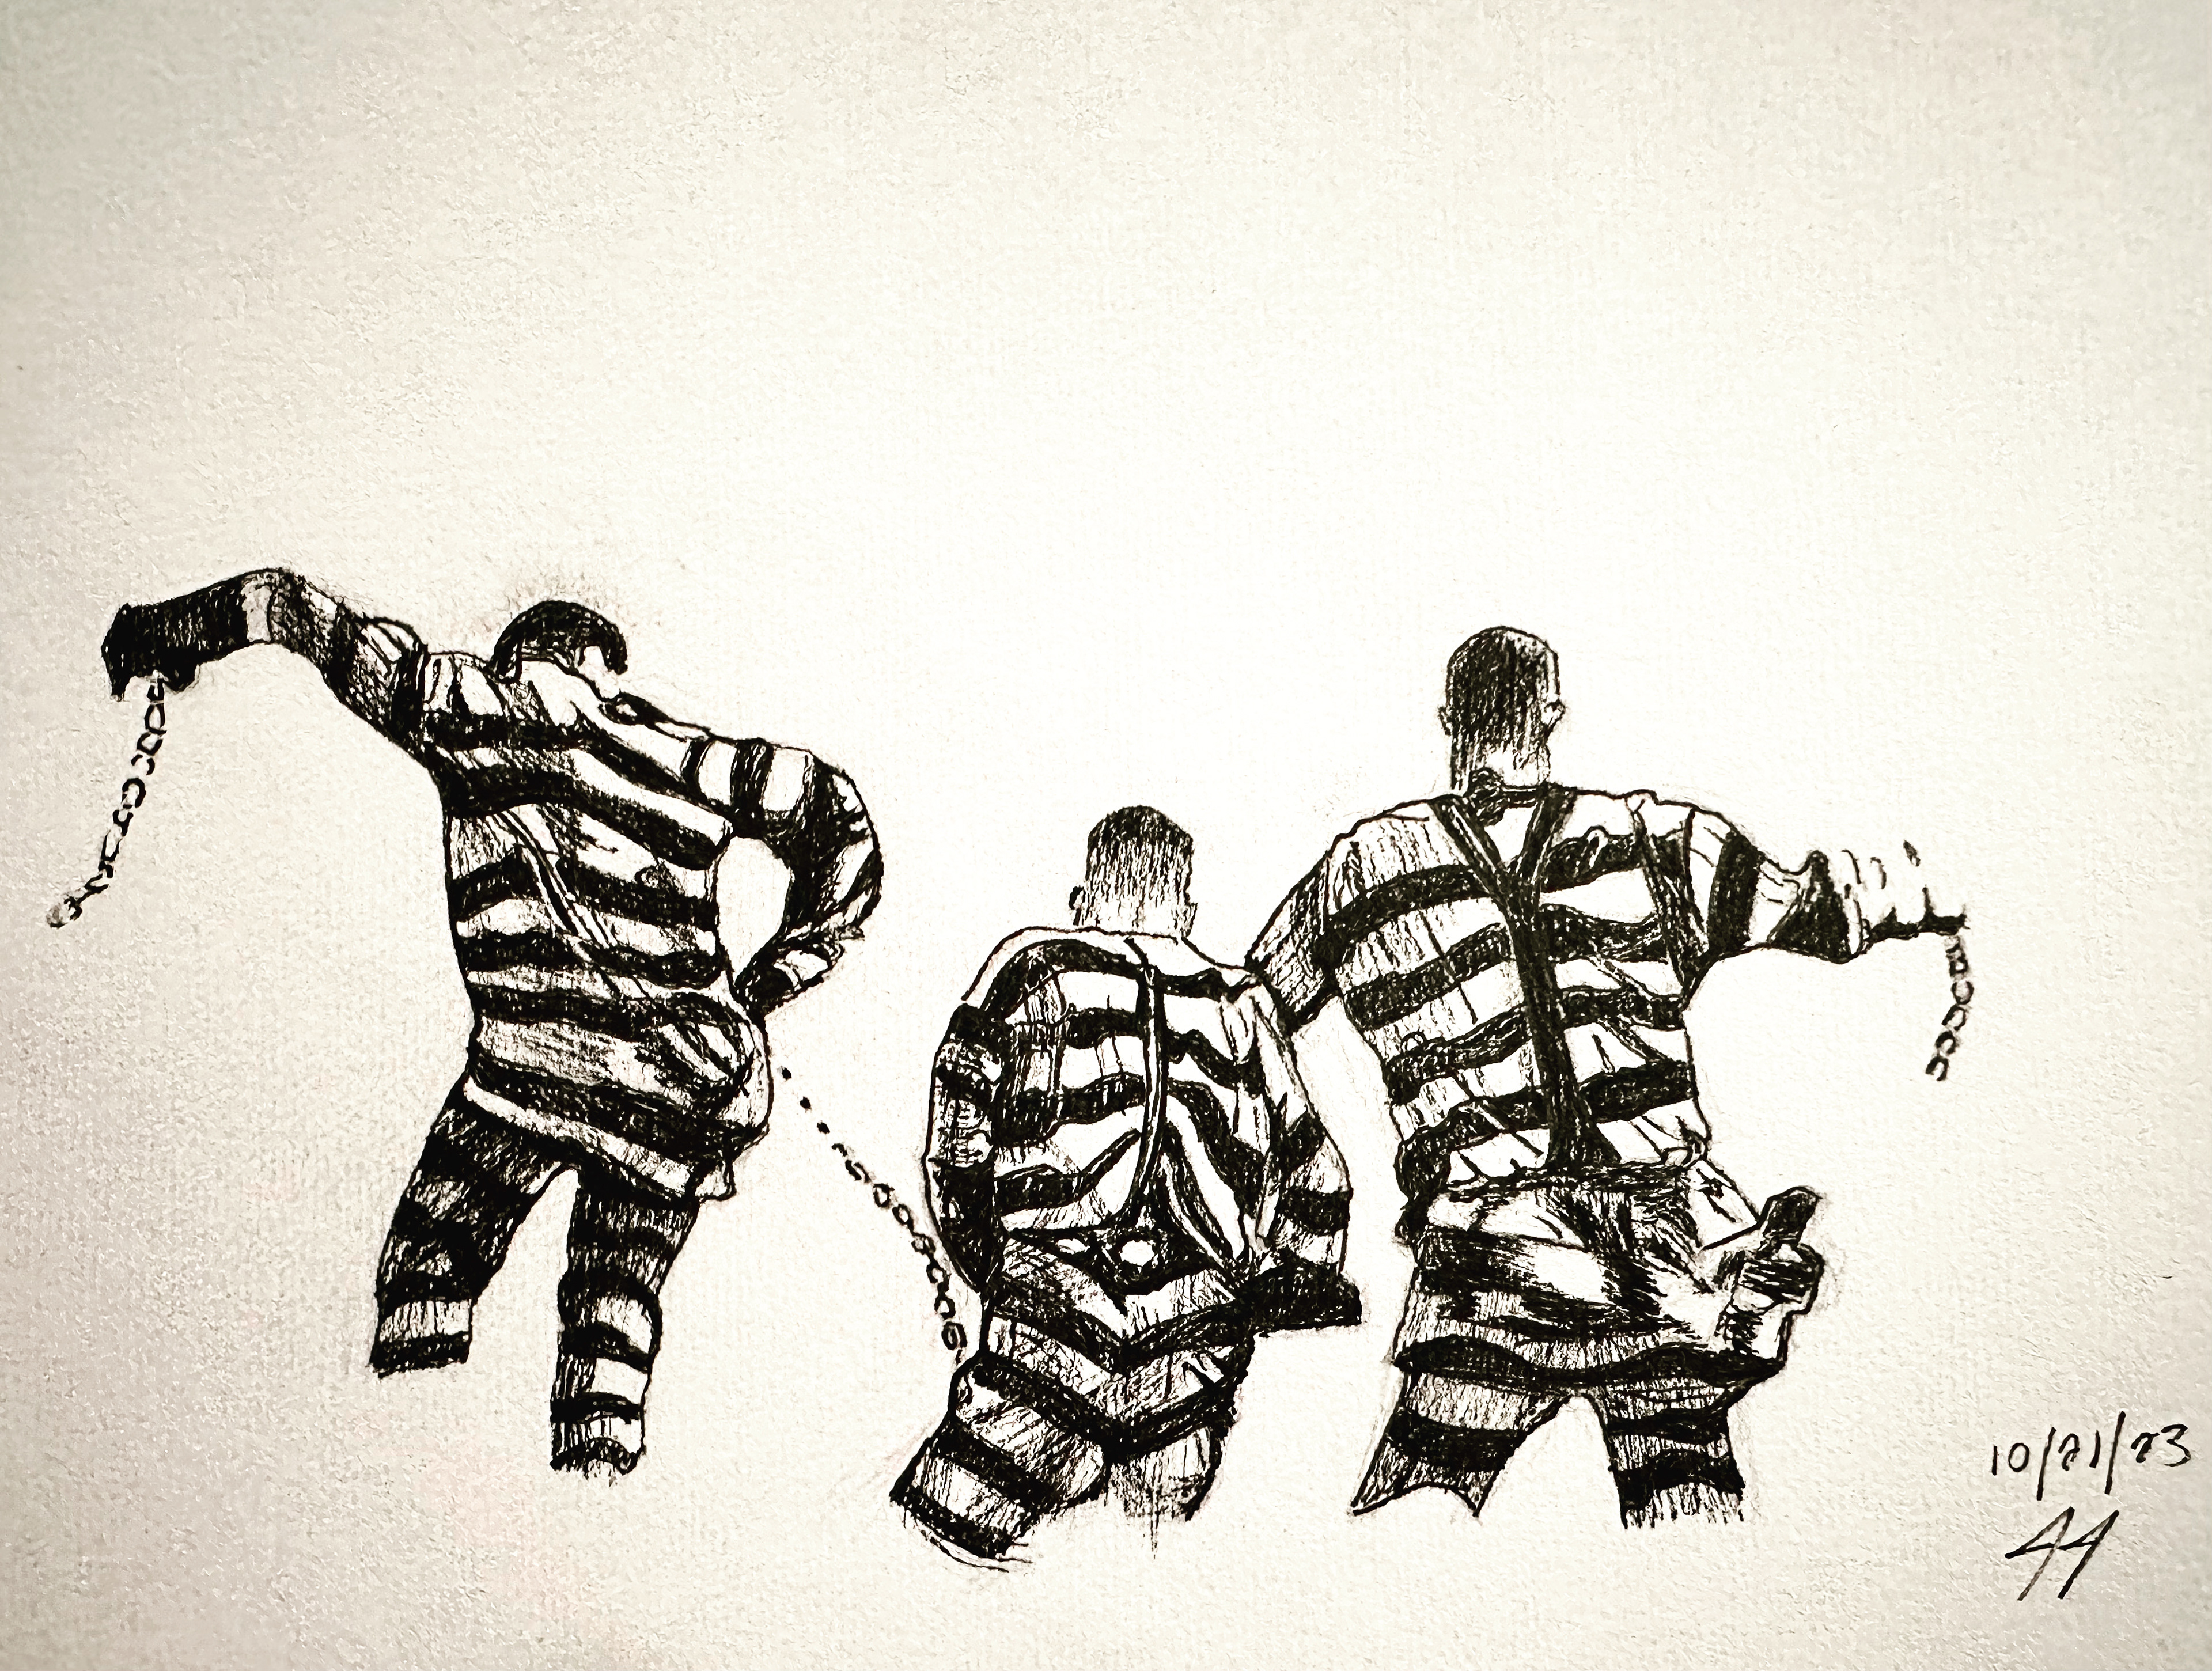
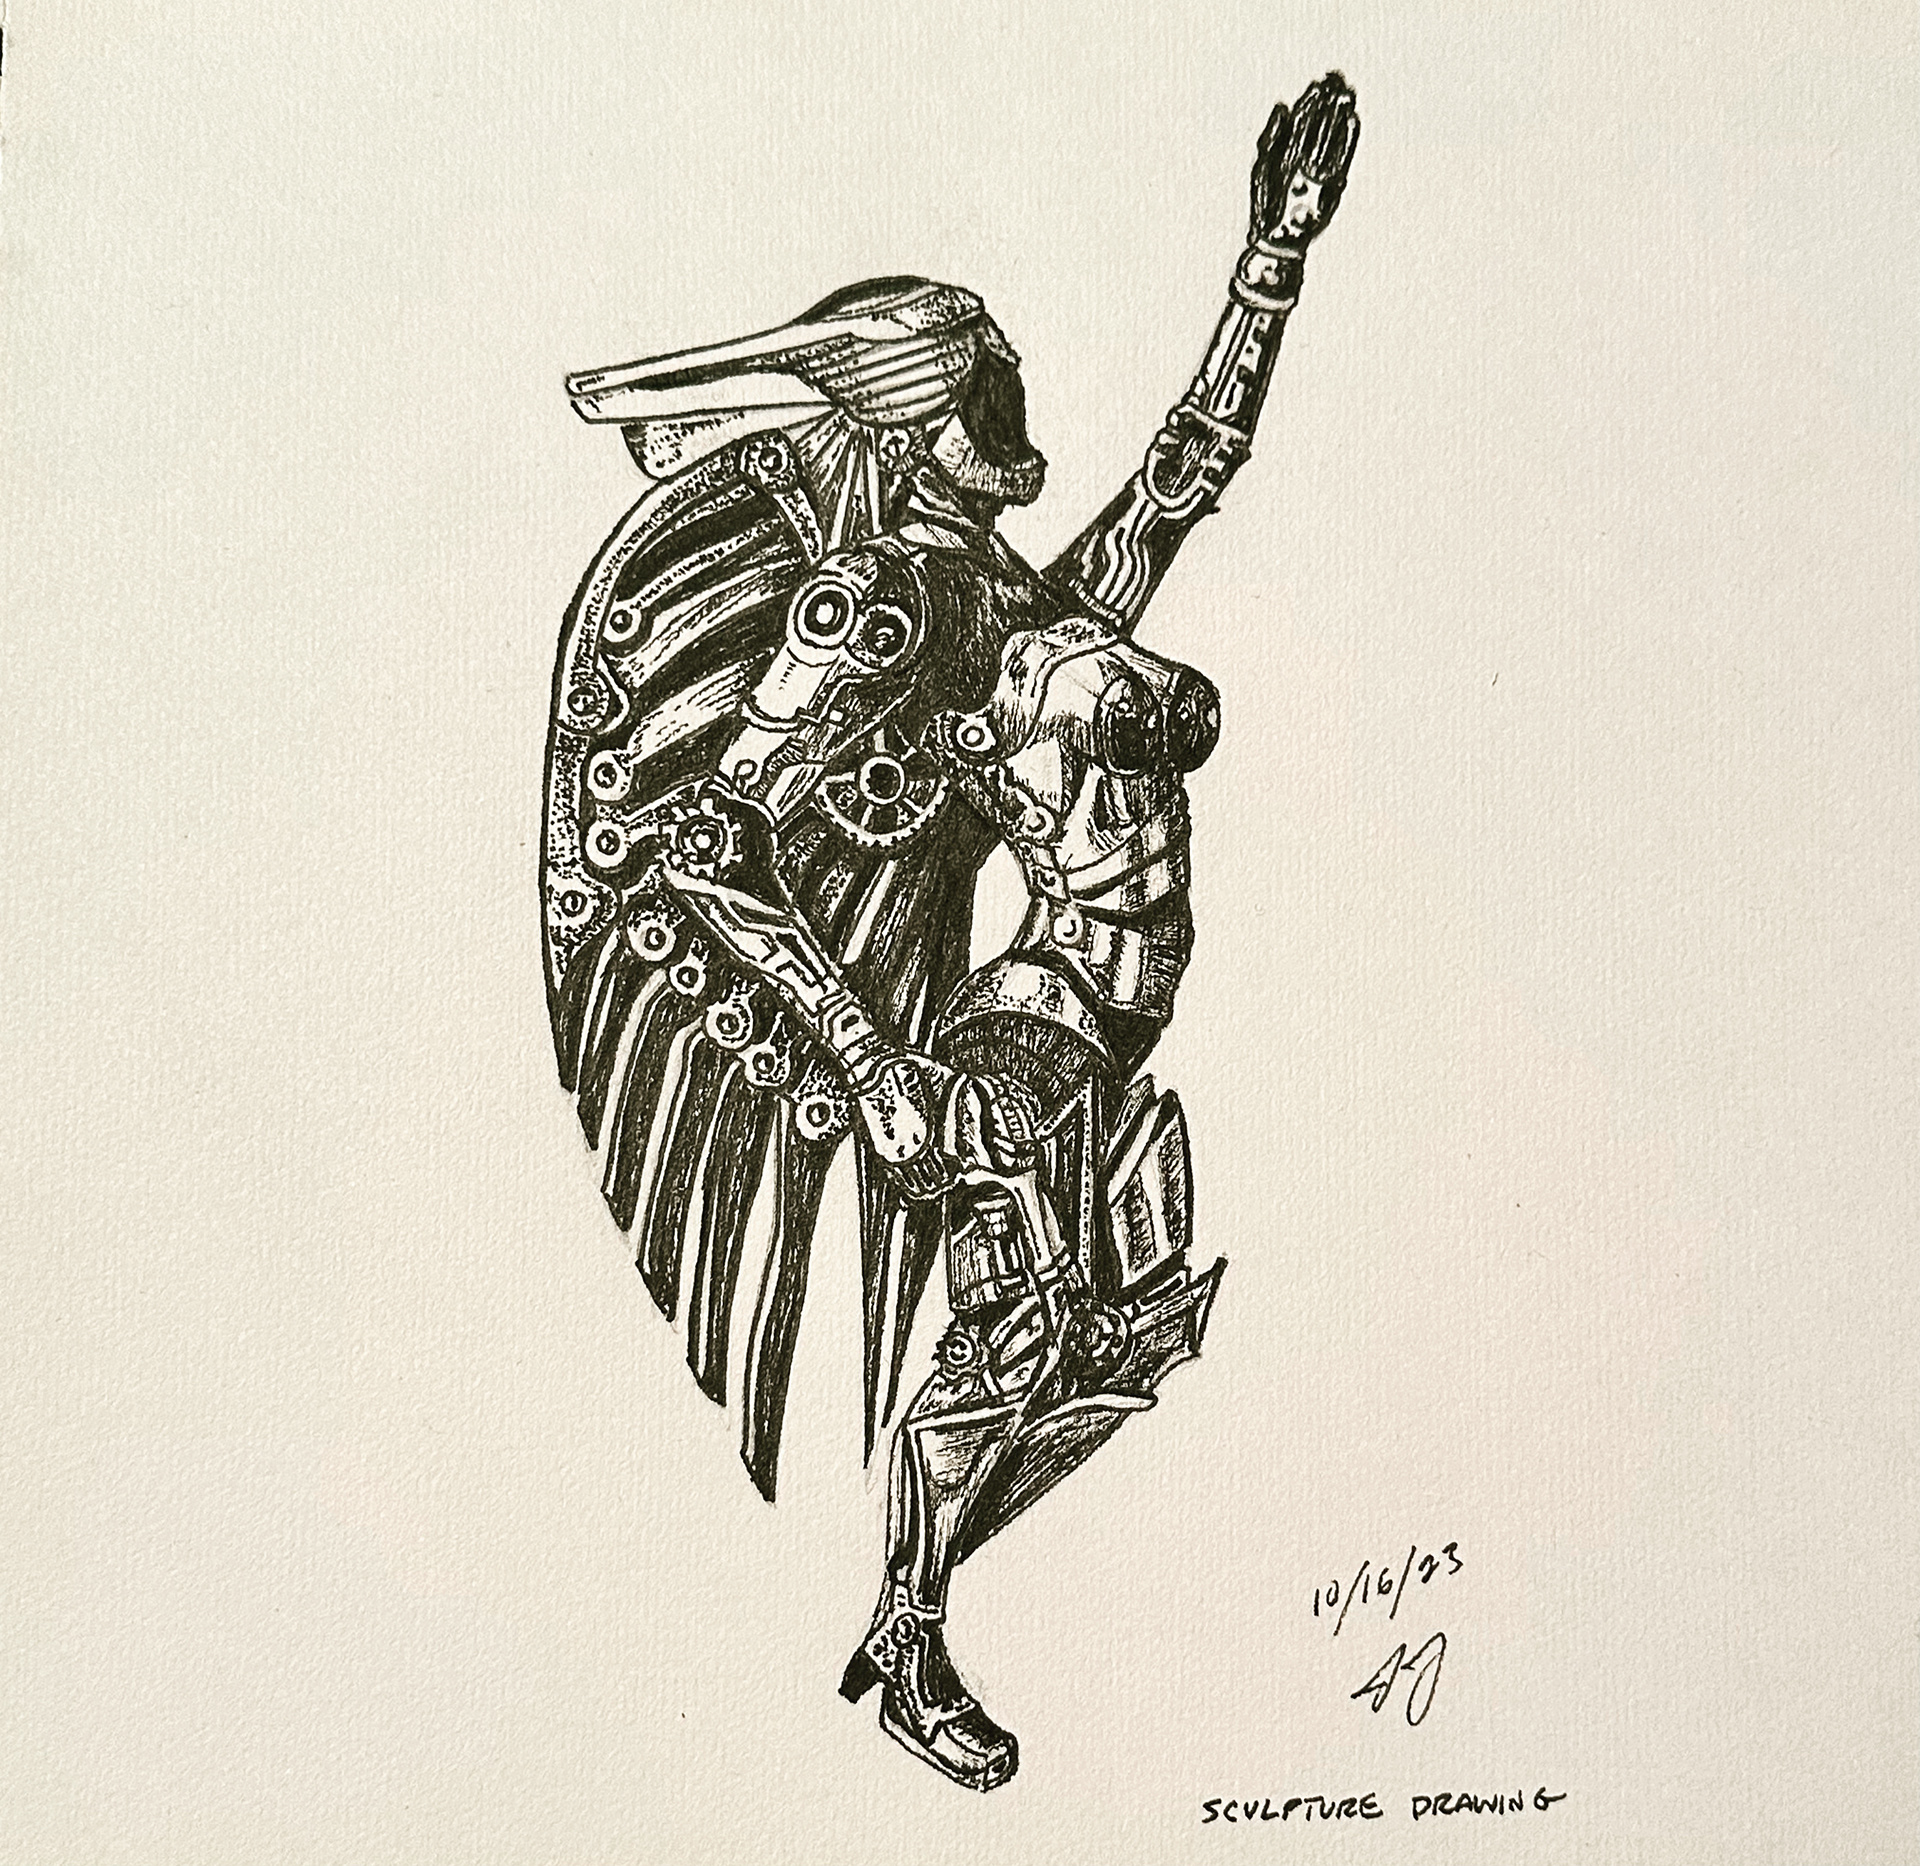
Freehand Illustrations
Resumé
Contact
Gallery
Gallery 2
Gallery 3
Freehand Illustrations
Resumé
Contact
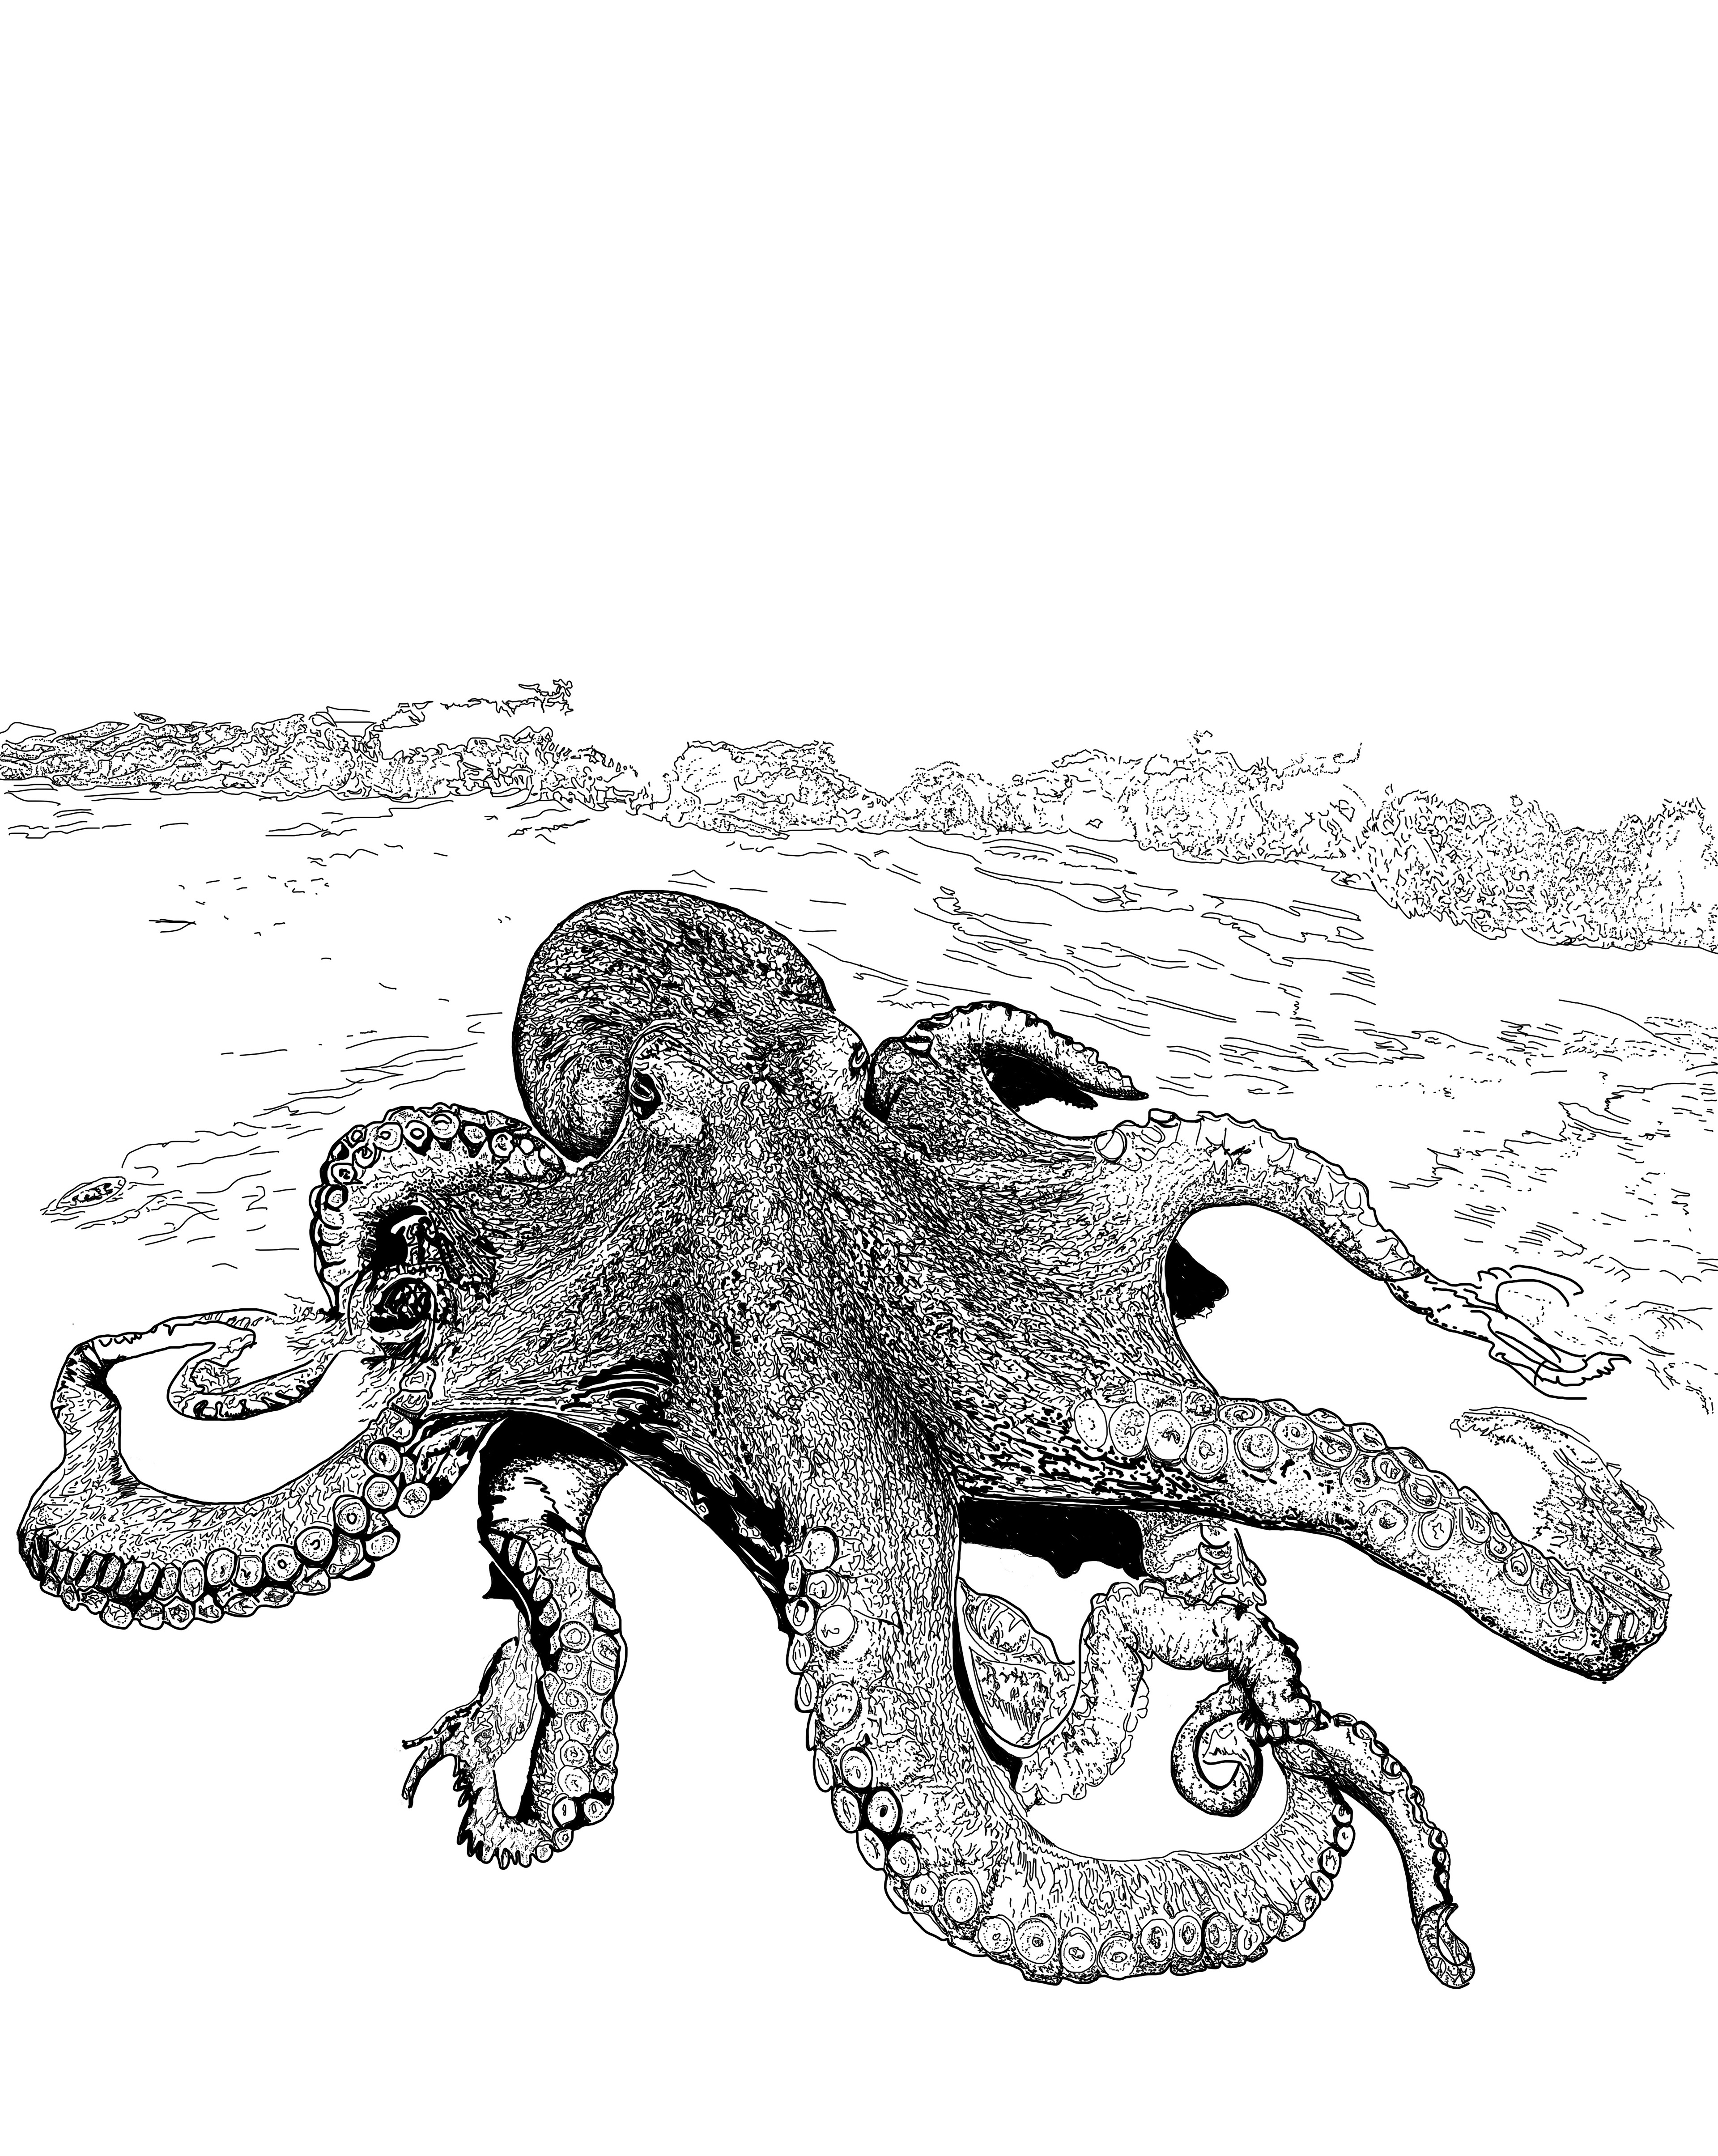
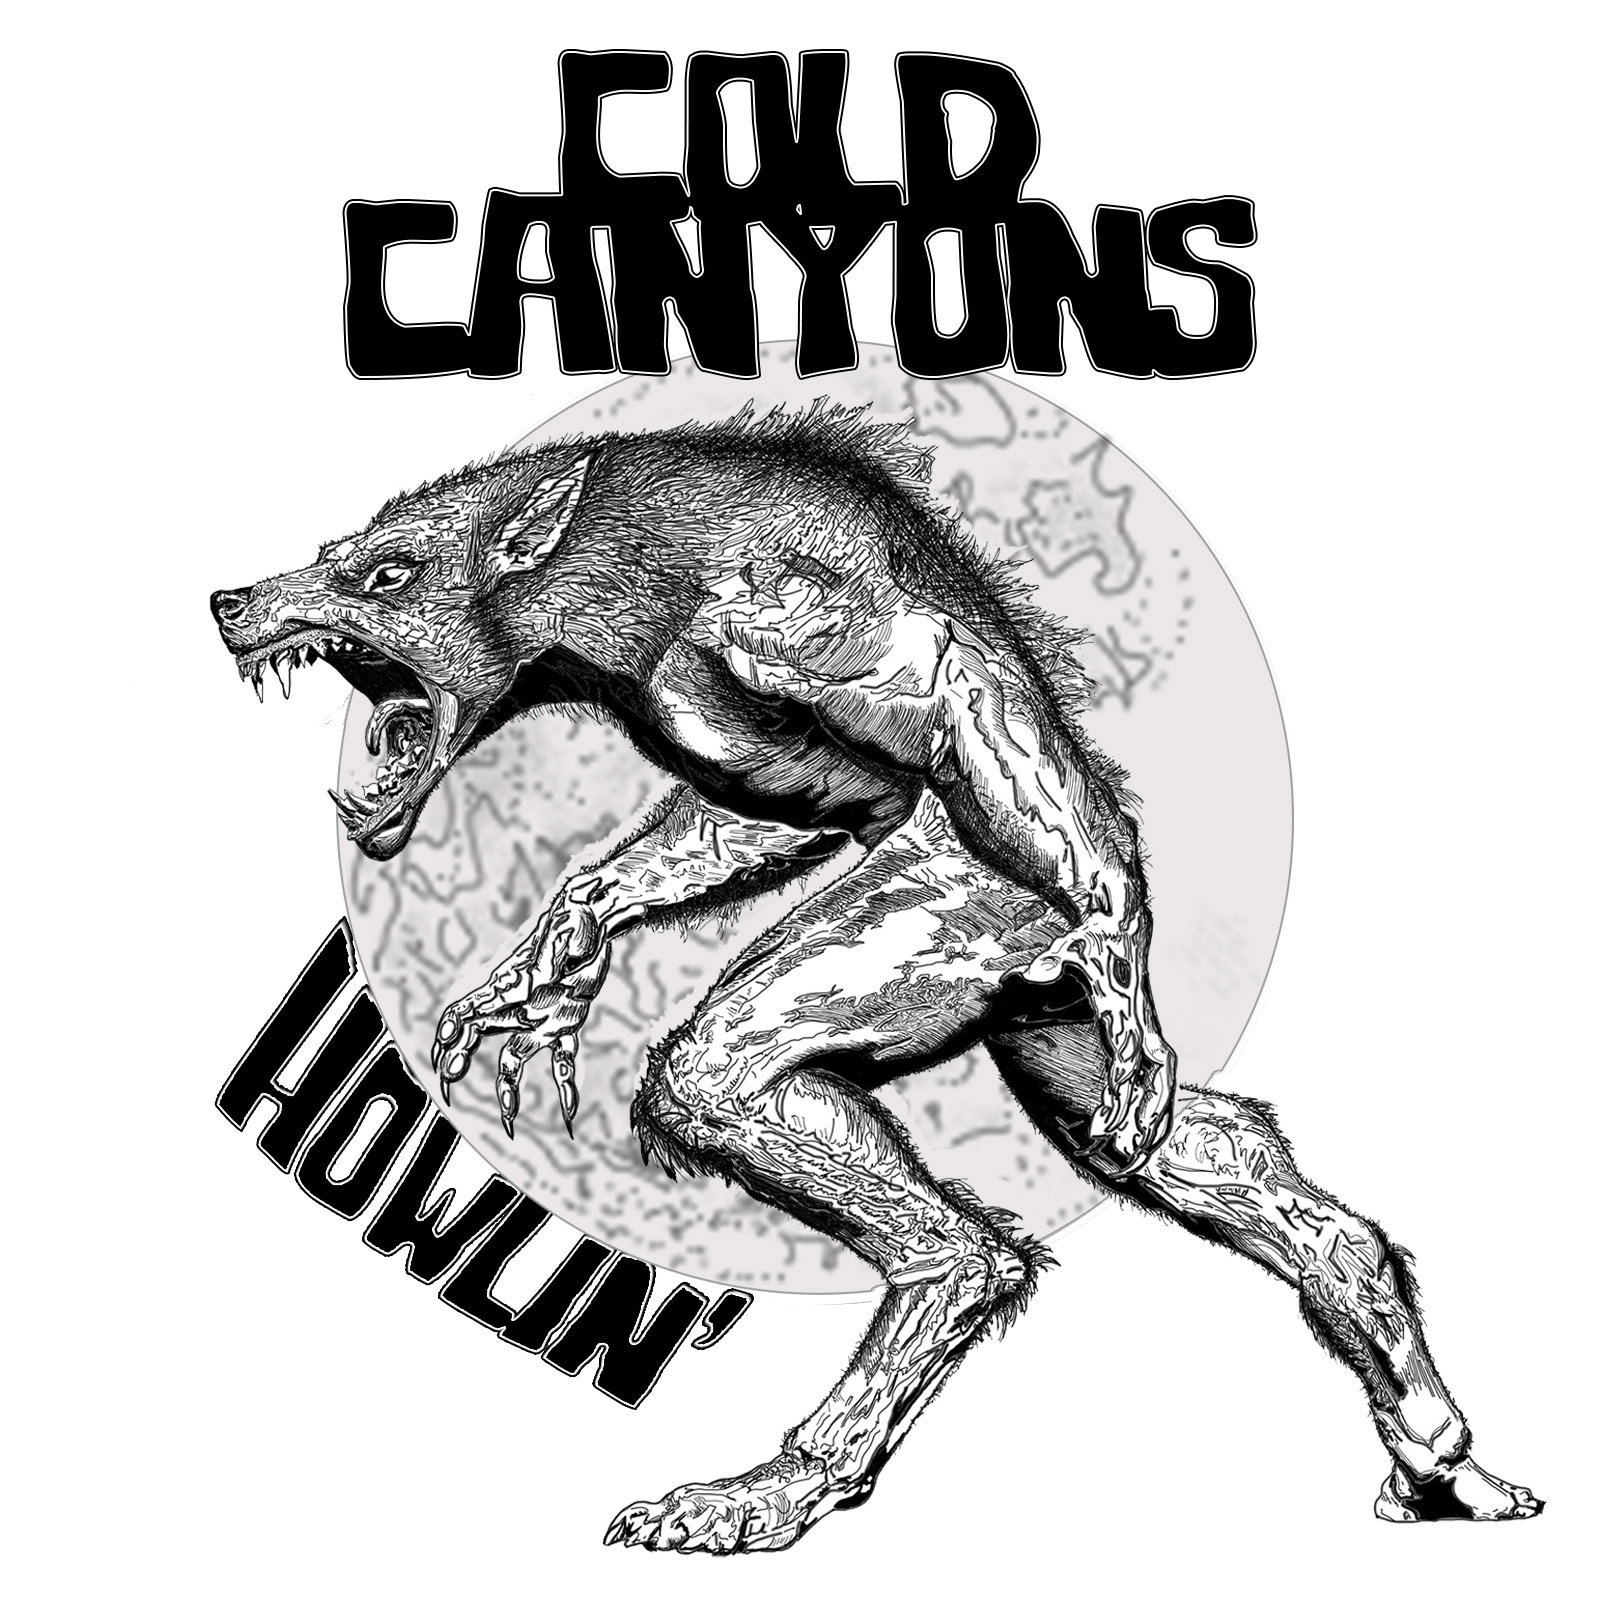
Illustrations
↑
Back to Top